Introduction
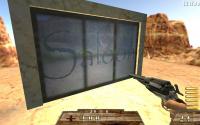
The purpose of this tutorial is to outline how to create alpha channels in your textures, which are then translated into transparent backgrounds in game. Lets start off by taking a look at the spiderwebs in dm_newtown and the corresponding texture used:
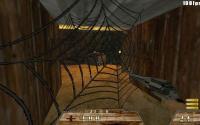
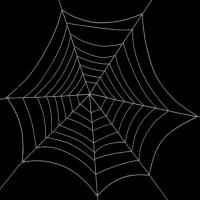
The spiderweb texture has an alpha channel which is combined with a shader file. The result of course, is a cool floating spiderweb. This tutorial shows how to create an alpha channel using a few different editors as well as a sample shader file.
If you know how to create an alpha channel with an editor that is not listed here, please feel free to post your own tutorial.
Gimp
Gimp is a free to download and free to use image manipulation software package. I recently started using Gimp, so please excuse the beginner tutorial.
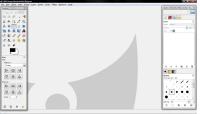
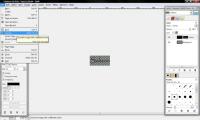
First you will need to download and install Gimp. This is outside the scope of this tutorial, but here is the link to download Gimp. Once it is installed, running, and set-up, you should have a screen that looks something like this:
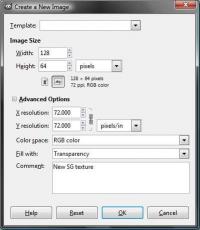
First you will need to open or create a new image. You can do this by the standard menus: File->New. I am going create a new image that is 128x64 pixels and with a transparent background. I am going to make a new sign for saloon window. I simply wrote "Saloon" with a transparent background using the text tool.
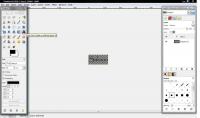
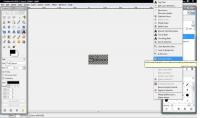
Next, we will create the alpha channel. If you have multiple objects or layers with images that you want with transparent backgrounds, you will need to merge layers before continuing. Right click on the layer with the image and click "Add Layer Mask."
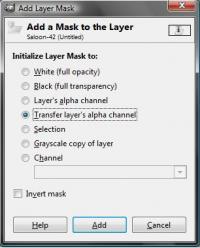
In the window that opens, check "Transfer layer's alpha channel" like this:
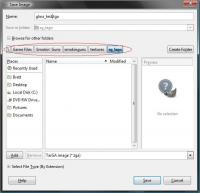
Lastly, save your image as a .tga file. Again you can do this using the standard menu of File->Save As:
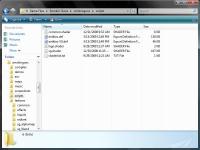
Make sure you save the .tga image in "*/Smokin' Guns/smokin/guns/textures/mapname" as shown in the red circle.
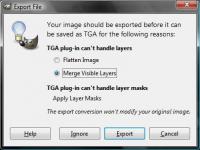
If you have multiple layers still, you may get a box like the following. In this case, I had a transparent background layer in my image. Click "Merge visible layers" and then "Export." This will merge the layers, but not change your current image in your editor.
The saved .tga file is not ready to be used as a transparent background texture. You must create a shader file to accompany this new texture. Please read the Sample shader file for and example and explination of the shader file.
Sample shader file
Here is the shader script that I used for the new Saloon sign that I created with the Gimp editor.
- Code: Select all
//location of the new shader
textures/sg_lago/glass_test
{
   surfaceparm alphashadow
   surfaceparm nonsolid
   surfaceparm trans
   surfaceparm nolightmap
   cull disable
   nopicmip
   {
                //location of the .tga image file
      map textures/sg_lago/glass_test.tga
      rgbGen vertex
      depthWrite
      alphaFunc GE128
   }
}
Place this script inside a .txt document, then rename it to yourmap.shader. Place this shader file inside "*/Smokin' Guns/smokinguns/scripts". Also, be sure to add the name of your shader file to the shaderlist.txt which is also inside your scripts folder.
Lastly, select your new shader inside the map editor. In GTK, shaders are differenciated from the textures by a white outline around the image in the texture selection window. Your new shader should have a white outline. Save, compile, and launch your map and you should see a texture with a transparent background!